
Unlock the Secrets to Effortlessly Installing Your RO Water Filter System!
In today's world, ensuring access to clean drinking water is more crucial than ever. An RO (Reverse Osmosis) water filter system is a popular choice among homeowners due to its ability to effectively remove contaminants and improve water taste. Many people face health issues related to poor water quality—ranging from gastrointestinal diseases to long-term exposure to harmful chemicals. With an RO system, you can tackle these issues head-on. The best part? Installing an RO water filter system is a manageable DIY project for many, empowering you to take control of your water quality without the need for professional help. In this article, we'll guide you through the entire installation process, ensuring you’re equipped with the knowledge and confidence to do it yourself.
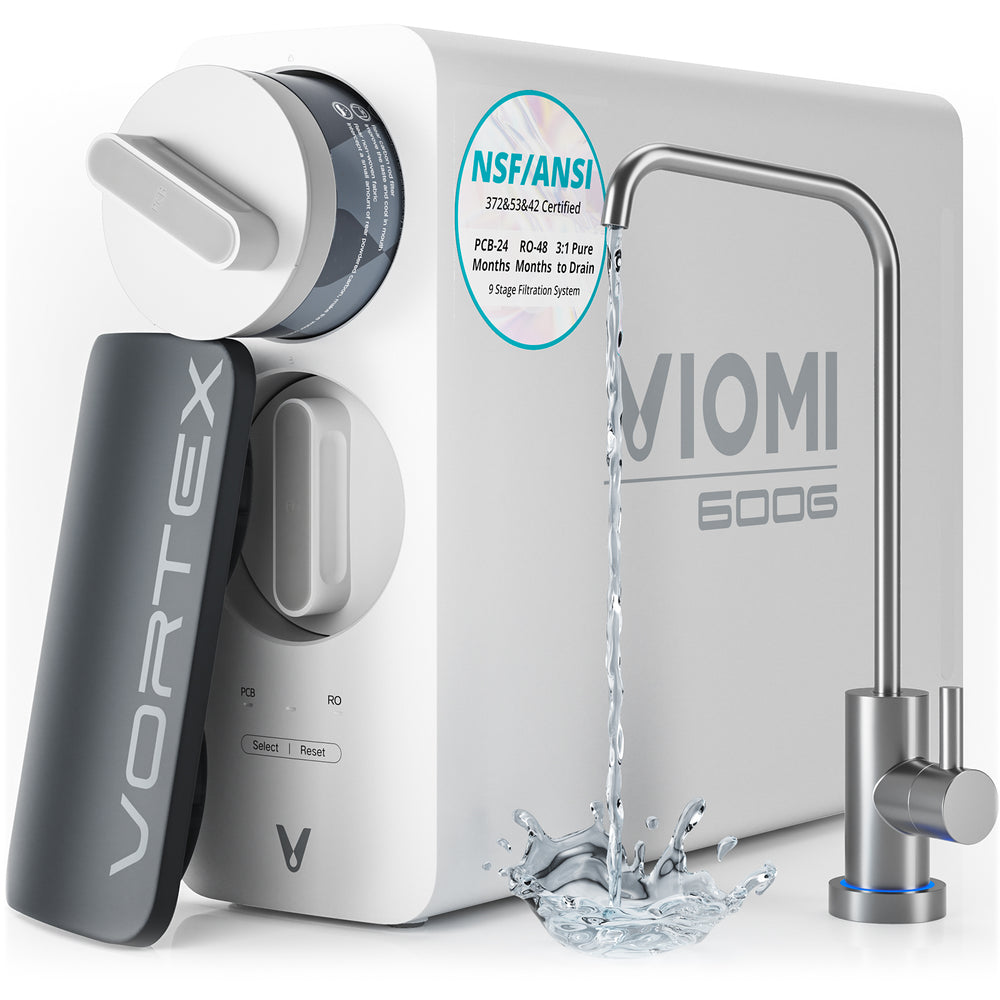
Understanding RO Water Filter Systems
A Reverse Osmosis water filter system works by pushing water through a semi-permeable membrane, which effectively separates impurities from the water. Common contaminants that are removed include lead, chlorine, fluoride, and even certain bacteria. The main components of an RO system typically include the pre-filter, RO membrane, post-filter, and a storage tank. Each of these parts plays a crucial role in ensuring that you receive the cleanest, safest water possible. While there are various water filtration systems available, such as carbon filters and UV filters, RO systems are favored for their ability to remove a broader range of contaminants, making them an excellent choice for households with diverse water quality challenges.
Preparation for Installation
Before diving into the installation process, it’s essential to prepare adequately. Start by assessing your water supply to determine if an RO system is the right choice for you. Next, gather all necessary tools and materials, which typically include a wrench, drill, and various fittings. Make sure to read through the installation manual provided with your RO system, as it will outline specific requirements tailored to your unit. Additionally, familiarize yourself with local plumbing codes to ensure your installation complies with regulations. A friend of mine, who installed his RO system last summer, emphasized the importance of preparation. He found that taking the time to gather all materials beforehand made the process smoother and more enjoyable.
Step-by-Step Installation Process
Now that you're prepared, let's delve into the step-by-step installation process for your RO water filter system. Each step is designed to be straightforward, ensuring clarity and ease of execution.
1. Turn Off Water Supply
The first and most crucial step in the installation process is to turn off the water supply to avoid any accidental leaks or water damage. Locate the shut-off valve under your sink and turn it clockwise until it stops. This step might seem simple, but it sets the foundation for a smooth installation.
2. Install the RO Unit
Next, you’ll need to mount the RO unit under your sink. Choose a location that allows for easy access to the water supply line. Use screws or brackets to secure the unit to the cabinet wall. Once it’s mounted, connect the water supply line to the unit. This usually involves screwing on a quick-connect fitting, which should be included with your system. Ensure that the connection is tight to prevent any leaks.
3. Connect the Drain Line
Once the RO unit is installed, it’s time to connect the drain line. This line is essential for disposing of the wastewater that the RO process generates. Locate the drain saddle clamp that comes with your system and attach it to the drain pipe. Make sure to drill a hole if necessary, and follow the manufacturer's instructions for securing the line properly. A friend of mine once forgot this step and ended up with a messy kitchen—so take your time here!
4. Attach the Faucet
Now, it’s time to install the dedicated faucet that will dispense your filtered water. Choose a suitable spot on your sink or countertop for the faucet. You may need to drill a hole if one isn’t available. Once the hole is ready, follow the instructions to secure the faucet in place, ensuring that all connections are tight to avoid leaks. This step is rewarding, as it makes your RO system feel complete!
5. Final Connections and Testing
With the main components installed, it’s time for the final connections. Ensure that all tubes and fittings are securely attached. Turn the water supply back on and check for leaks around all connections. Run the system for a few minutes to flush out the filters and allow any remaining carbon dust to clear. It’s a good practice to check the faucet for proper water flow. If everything is functioning correctly, congratulations! You’ve successfully installed your RO water filter system.
Tips and Takeaways for Successful Installation
Installing an RO water filter system may seem daunting at first, but with the right preparation and guidance, it’s a task that many homeowners can easily tackle. From understanding the components to following a step-by-step installation guide, you can ensure that your family has access to clean, safe drinking water. Remember to perform regular maintenance checks on your system to keep it running efficiently. So roll up your sleeves, gather your tools, and take the plunge—your health and hydration depend on it!


